- v50 information can now be added to pages in the main namespace. v0.47 information can still be found in the DF2014 namespace. See here for more details on the new versioning policy.
- Use this page to report any issues related to the migration.
Military interface
v53.12 · v0.47.05 This article is about the current version of DF.Note that some content may still need to be updated. |
This is a hands-on walkthrough of the military screens.
Walkthrough
This guide will take you through a step-by-step process of each and every screen in the military and squad menus and get your military on its feet.
The military screen and all its tabs are mouse-compatible, and can be navigated through mouse clicks rather than strictly keys (when in windowed mode).
Squad Positions
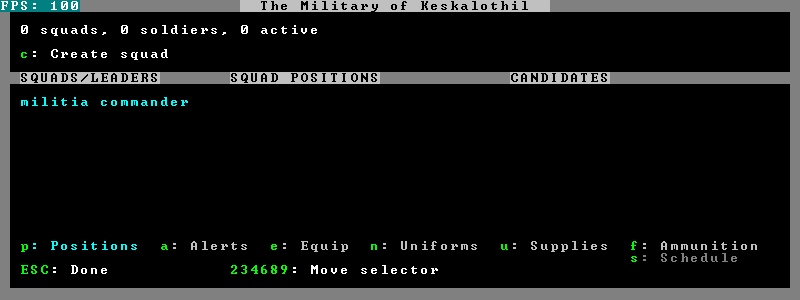
Our brand new fortress at Shotweakens needs a military. Let's open up the military screen with m.
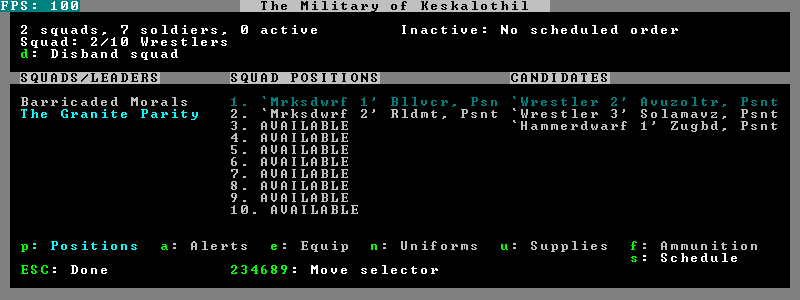
This is the positions tab. It opens with the military menu by default; if you're looking at another tab you can press p to return here. At the bottom of the screen you can see the keys to open the different tabs in the menu. Each tab has three panes - a left, center, and right. These may also be referred to as the first, second and third panes. The left/right keys will take you between panes; keep in mind which one your selector is in, as the same key will often do something different depending on what pane you're in.
All screens will list what keypresses are needed to do what task, but as the menus are confusing to read, I'll list many of them as well. If you're ever stuck, take the time to really read through the options presented - often the answer is before you and it's simply too difficult to immediately see.
The positions tab lists squads and dwarves assigned to squads. You'll notice that presently there are no squads listed - you have yet to create one using c. Before we do that, we'll close the military screen (esc) and open the nobles screen (n).
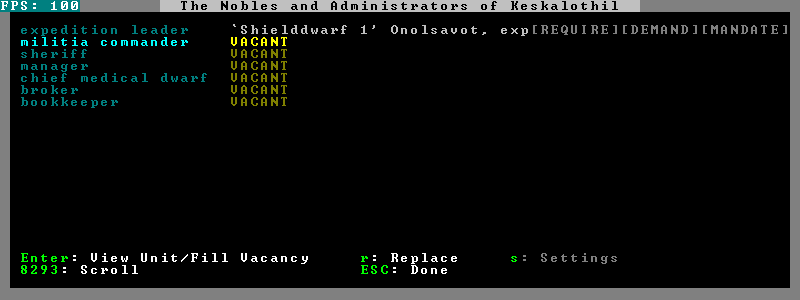
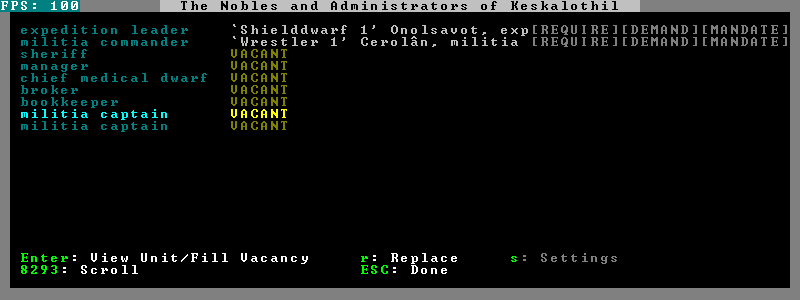
See the slot for militia commander? That's the head of our military. We'll put Wrestler 1 into this slot (with enter). Keep in mind you cannot assign your expedition leader as the militia leader. Now we'll go back to the positions screen.
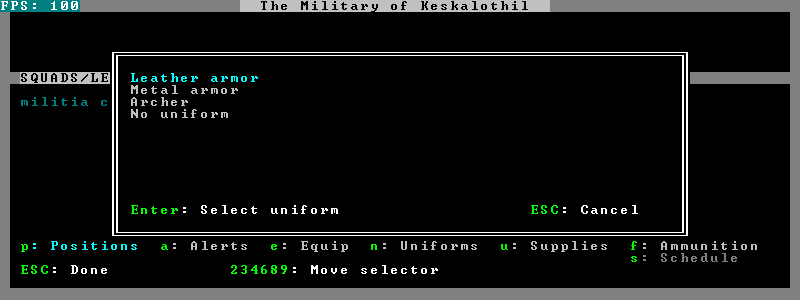
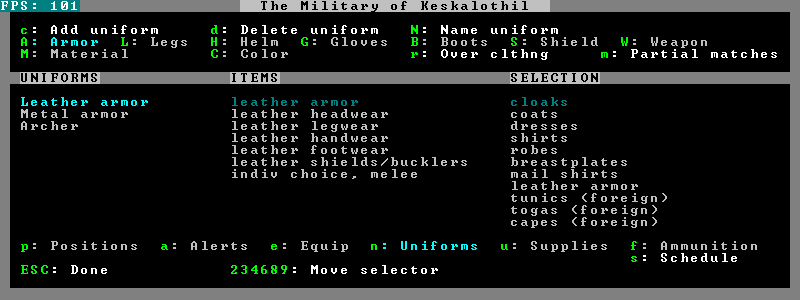
We press c to create a new squad. The default uniform templates are listed for us to choose from - for now, we'll just select 'leather armor'; we can change this later.
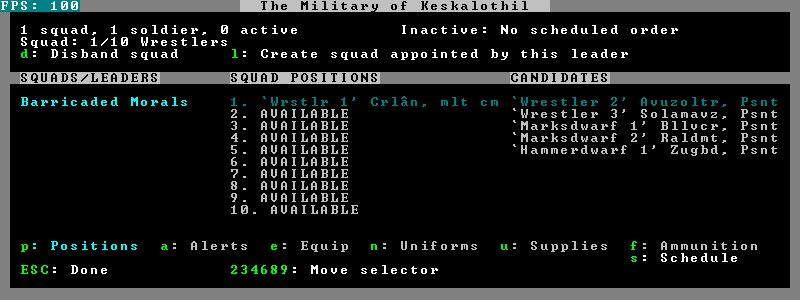
Now we have a squad! Wrestler 1 has decided to call it Barricaded Morals, as the squad leader chooses the squad name. Go back to the nobles screen for a moment.
See where it says militia captain? This is any squad leader with a position under your militia commander. There can be any number of these. Squad leaders will be listed here automatically. You can also create a squad before assigning a militia commander; your first squad's leader will automatically assume the role. We're done with the nobles screen; let's return to the military screen and finish up with the positions tab.
I've put Wrestlers 1-3, Hammerdwarf 1 and Shieldsdwarf 1 into Barricaded Morals as our melee squad (by selecting them from the right pane while highlighting the correct squad in the left pane) and created a second squad (with l) for our ranged forces, Marksdwarves 1 and 2. Marksdwarf 1 calls this the Granite Parity. I've given them the generic 'leather armor' uniform as well.
We're done with the positions tab. Press a to bring up the alert tab, our next destination.
Alerts
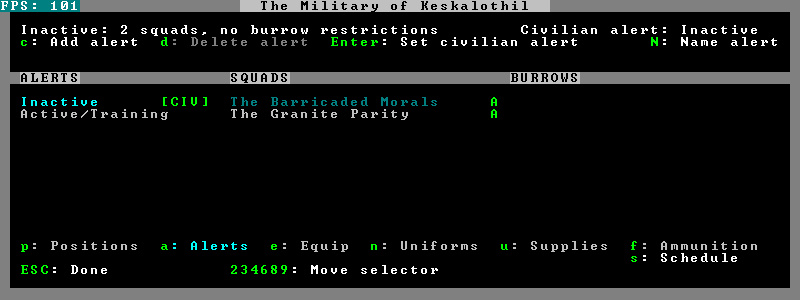
The alerts tab is where you can create alerts for your squads. Alerts function as your effective schedules - you can toggle individual squads between alerts easily - while the schedules tab allows you to edit the content of each alert (confusing, I know). Pretend that alerts are the schedules and the scheduling itself is simply how you edit them.
The alert system is primarily for the military; however, a generic civilian alert level is used to restrict civilians via alert. You can tell them what alert to follow by pressing enter while highlighting one in the left pane, or (once we have burrows) you can restrict them to a burrow (or multiple burrows) by pressing enter while highlighting one in the right pane.
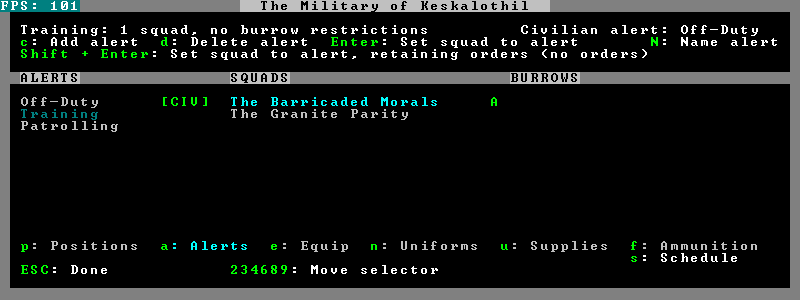
By default there are two alerts - Inactive and Active/Training. Inactive is a full schedule of empty orders, causing your dwarves to do nothing but sit around and individually train if they are a certain military skill level (otherwise they'll retain their civilian jobs). Active/Training is a full schedule of Train orders, which will keep them in your Barracks doing demonstrations and sparring. Both of these alerts are entirely editable in name and scheduling (though we'll get to the latter later). I'm going to rename these two alerts as well as add a third, using c to add one, and N to name them.
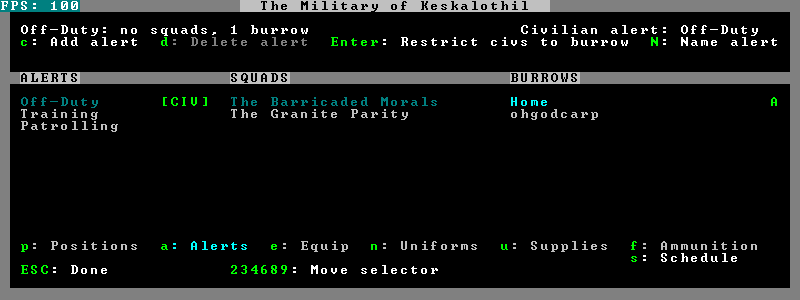
We now have Off-Duty (formerly Inactive), Training (formerly Active/Training because that name is far too misleading) and Patrolling, which currently has no orders, but we can add some later. Patrolling is going to be our 'patrolling around camp / dangerous areas' alert. None of this is strictly necessary to do, I'm simply demonstrating the capability.
We're done with alerts for now. Press e to bring up the equipment tab.
Equipment
The equipment tab is where you suit up your dwarves with armor and a weapon. There are three windows within this tab:
View/Customize
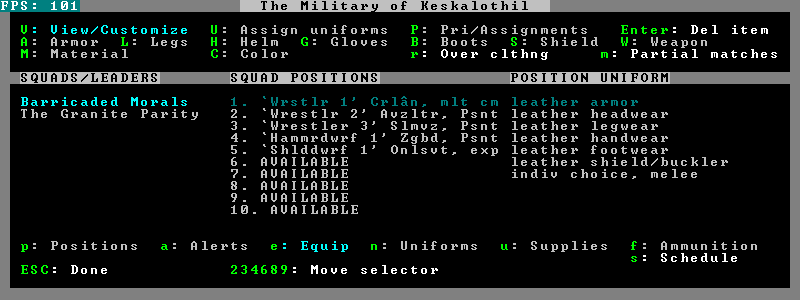
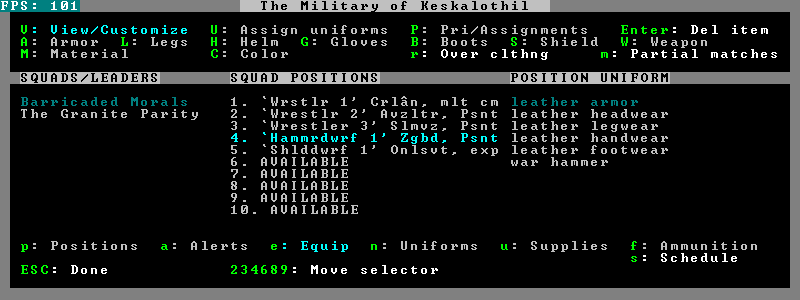
The view/customize window, opened by default in the equipment tab, is where you can select individual pieces of equipment for individual dwarves. When in another equipment window it is accessible through V. You can add equipment by pressing the corresponding capital letter displayed at the top of the screen and then selecting from the options in the right pane, and edit an item's material or color by highlighting said item in the right pane and then pressing M or C. Be careful while doing this - if you accidentally press enter while not selecting new equipment, material, or colors, you'll delete that item. You can also toggle between your dwarves wearing only their armor or wearing it over their civilian clothes with r. Pressing m to toggle between partial match and exact match seems to give or restrict your dwarves' equipment-selecting privileges[Verify].
I've edited the equipment of each dwarf in the squad so that the wrestlers have no weapon or shield, the shieldsdwarf has a shield but no weapon, and the hammerdwarf has a hammer but no shield. Keep in mind I'm just demonstrating; should my dwarves actually go into combat so poorly equipped they'd get torn apart.
Assign Uniforms
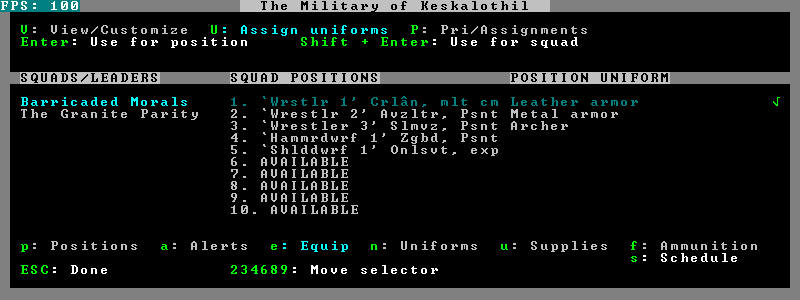
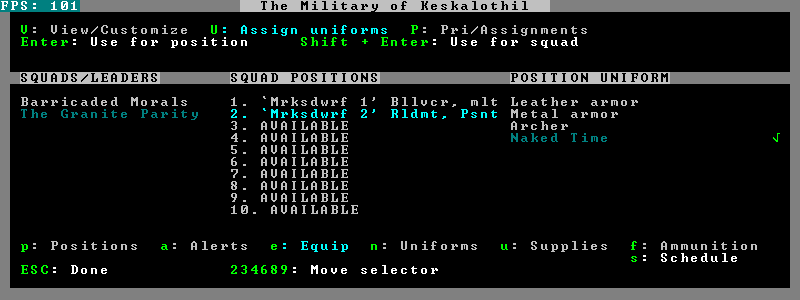
The assign uniforms window (opened with U) allows to you apply uniform templates to a single dwarf or an entire squad at once. It is important to remember that the equipment/assign uniforms window is not the same as the uniforms tab, which is directly accessed in the military screen. Right now our options are the default templates of 'leather armor', 'metal armor', and 'archer'. We'll make our own shortly.
Priority/Assignments
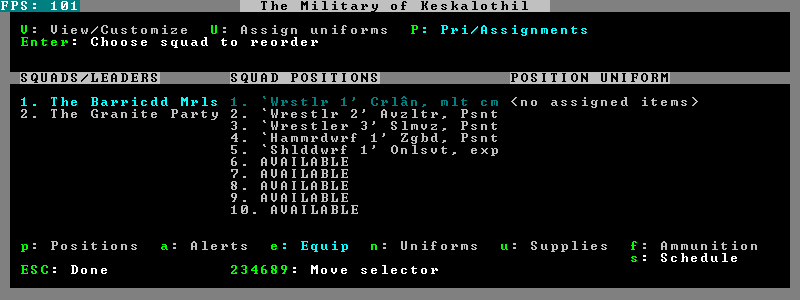
The pri/assignments window (opened with P) allows you to rearrange your squads. The right pane lists assigned equipment on each dwarf. This does not necessarily mean that the dwarf is carrying it, merely that it's been assigned and should, theoretically, pick it up. If there are more requests for a given type of equipment than there are items, the squad at the top of the list will have first pick out of the available gear, and the next squad the second, and so on. Moving on to the uniforms tab (n)
Uniforms
The uniforms tab is where you create uniform templates that can be applied to your dwarves in the equipment tab's assign uniforms window (which we were at moments ago). Again, it is important to remember that the uniforms tab is not the same as the equipment/assign uniforms window.
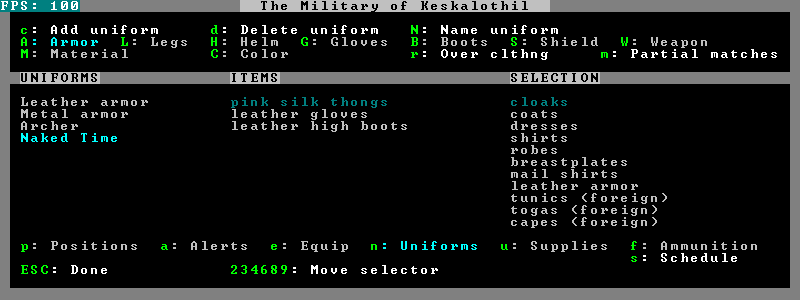
The leather armor, metal armor, and archer templates are listed by default. Leather is fine for a beginning military, especially as we don't yet have any metal, but for demonstrative purposes let's make a new template.
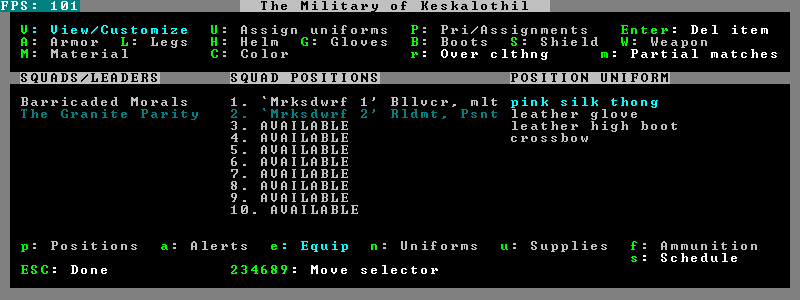
Now we have 'Naked Time,' a template that will cause dwarves to pick up leather high boots and gloves, as well as a pink silk thong if available. Thankfully we only have basic leather clothing with us, so they won't (though they'll grab one if one becomes available). To truly be a 'naked' uniform we need to press r to replace regular civilian clothing with this uniform (rather than wearing it overtop like some kind of weird superhero costume). Now we need to apply this template in the equipment/assign uniforms window.
The Granite Parity has now been assigned the Naked Time uniform. We're done with our uniform work; let's move on to the supplies tab.
Supplies
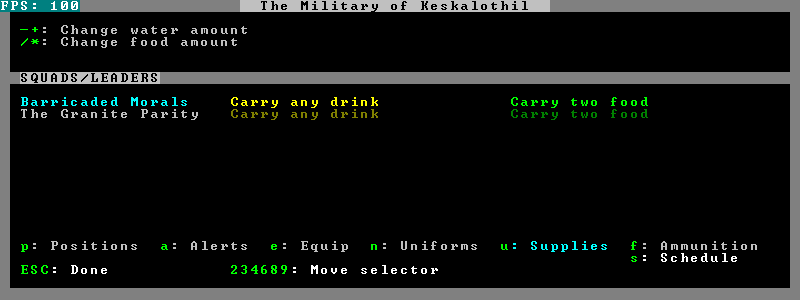
The supplies tab is where you can decide if and what supplies a squad carries, using the secondary up/down keys. The default settings should be fine for now.
Should you want to change any (or see what you can do), you can toggle through the drink orders by pressing - and +, and through the food amount by pressing / and *.
The options are not entirely intuitive:
- carry any drink makes soldiers carry water or alcohol; alcohol will be used/preferred if available
- do not carry water makes soldiers carry no waterskins at all
- carry water makes soldiers carry only water
Ammunition
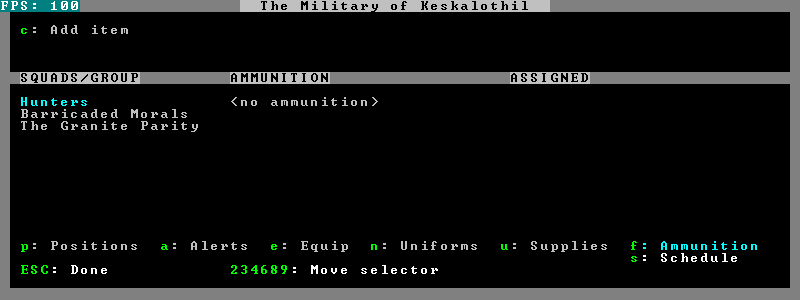
The ammunition tab is where you can select what squad uses what types of bolts for what. 'Hunters' are also listed for civilian dwarves tracking wild animals.
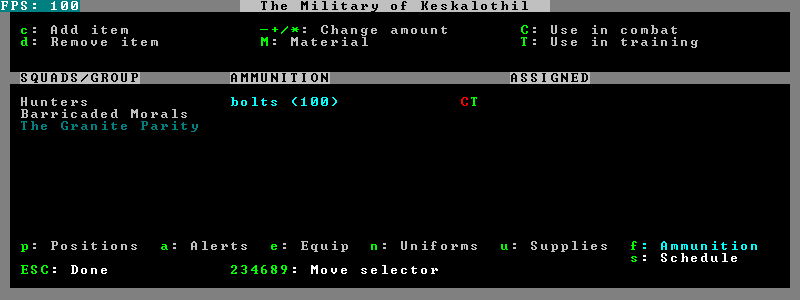
We'll give The Granite Parity our supply of copper bolts to train and combat with, since we don't have anything else. However, when you start carving bone or wooden bolts, you can assign those to be training bolts instead of metal ones. We'll need to return to the equipment tab one last time.
In the view/customize window we've given our marksdwarves crossbows. This should cause them to pick up a quiver and then begin stocking bolts. Finally, it's time for the schedules tab.
Schedules
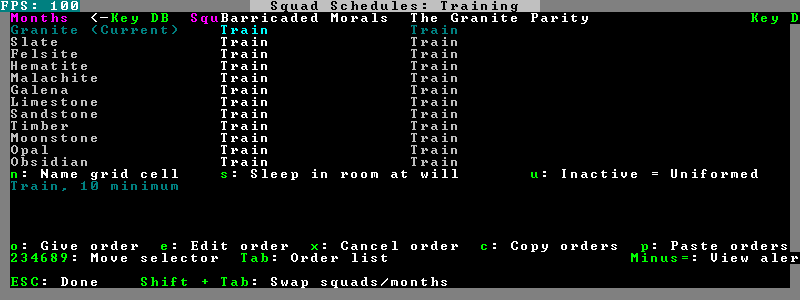
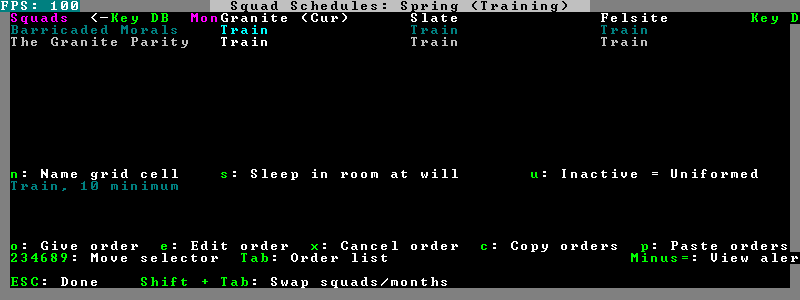
The schedules tab is where you can assign scheduling items for each month by squad and alert. This is where your military gets all its passive orders that tells it what to do on a yearly basis. Unlike the other military tabs, you will need to press esc to exit the scheduling tab. Note that by using the secondary page up/down keys you can swap alert schedules to edit. As you can see, the Training alert consists of nothing but Train orders.
By pressing shift+tab you can flip the screen so that rather than looking at all the months and two squads, you can see all the squads and the next three months. This is more effective if you have many squads, and as we don't we'll just put it back. The next step to do is to create scheduling for our new Patrolling alert, but to do so we'll have to create stations, routes, and burrows. Without them there is nothing to assign our orders to.
Burrows, stations, and routes
Exit the military menu and press w to bring up the burrows menu. We're going to designate two new burrows for our military to play with.
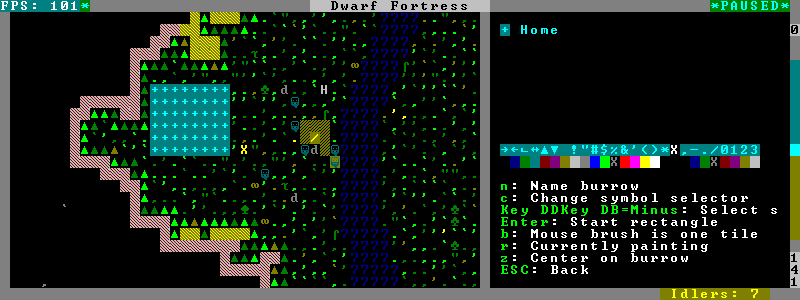
I've selected an area away from the river and called it Home. I've left it with the default shape/color, a blue plus sign. You can use the secondary up/down keys to pick a different shape and c to switch colours.
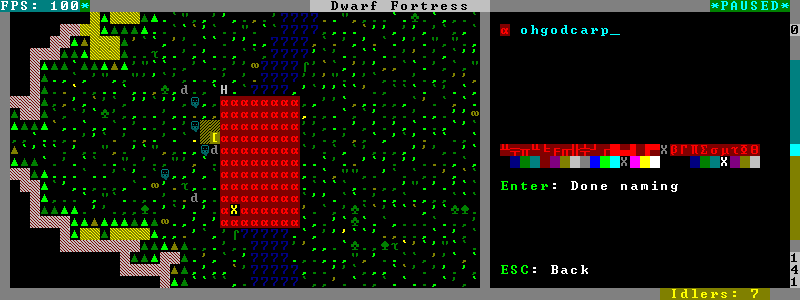
For the second burrow I've selected the river and called it ohgodcarp, using a red fish selector. Exit this menu and bring up the alerts tab again to see something.
Now that we have burrows, we can select the option in the right pane to restrict civilians to certain burrows. Don't forget that civilians can not be broken up by group; either all civilians are restricted or none are. Exit this menu and press N to bring up the points/routes/notes menu.
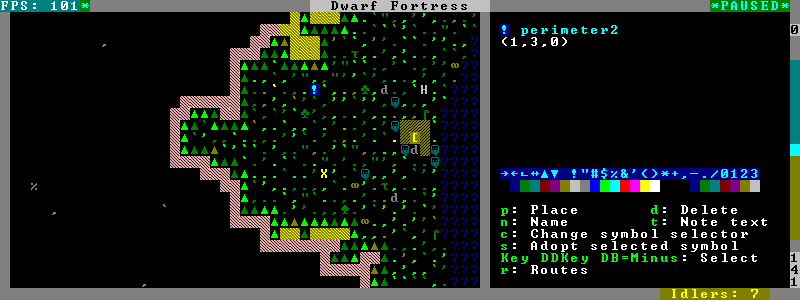
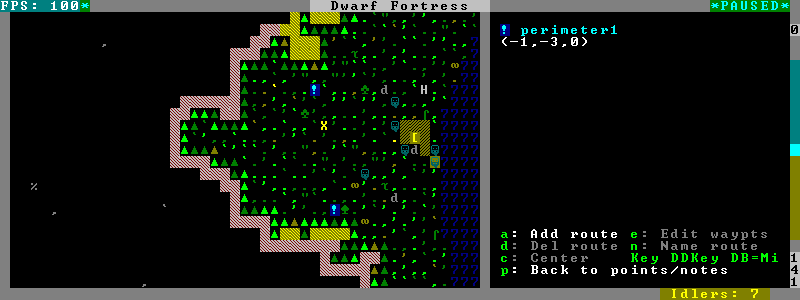
Using p I've placed a number of points around our future campsite (where Home is). Some of them are on the next z-level up. I've named them 'perimeter#' as I intend to use them as station points to watch our perimeter. Once you have placed some station points, let's press r to open the routes window.
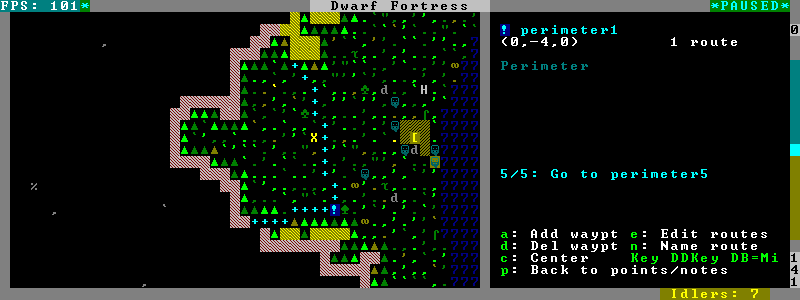
Here you can press a to add a route (or multiple). To edit waypoints, or the stations that the route passes through, press e. When you want to return to the route editing screen, just press e again.
By selecting all five of our perimeter# stations, I've created a new route called Perimeter. Similar to points, you can rename routes by pressing n. Dwarves assigned to this route will go through stations 1-5 and then return to station 1, creating a loop. Let's return to the scheduling tab. (In case you've forgotten, m then s!)
Give orders
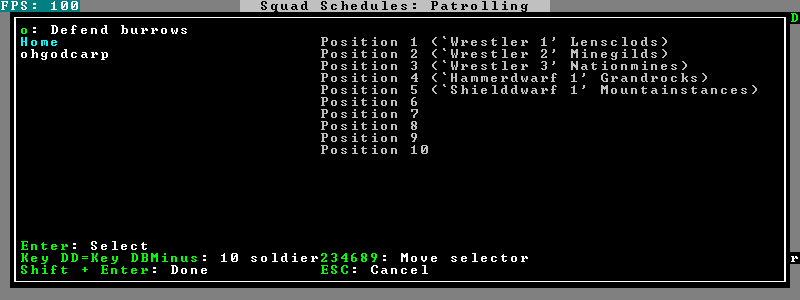
The give orders window is accessed through the scheduling tab. When selecting a scheduling item, press o to create a new order. We can choose between 'Train,' 'Defend burrows,' 'Patrol route,' and 'Station.' If you don't want a scheduling item to have any orders, delete them in the main scheduling menu. An important note: You must press shift+enter to save an order - pressing esc will only return to the scheduling tab without saving your progress.
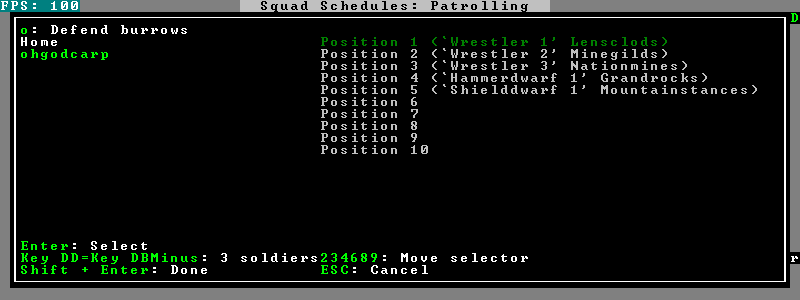
We'll give Barricaded Morals a defend burrows order in the Patrolling alert, to defend the ohgodcarp burrow. They'll watch for enemies in that area, and likely end up engage the foul water beasties. I've also selected Wrestler 1, our militia commander, and set the required dwarf number to 3. Now the order will keep three of the five dwarves in the squad busy defending the burrows, and try to switch out soldiers in favour of Wrestler 1 when possible.
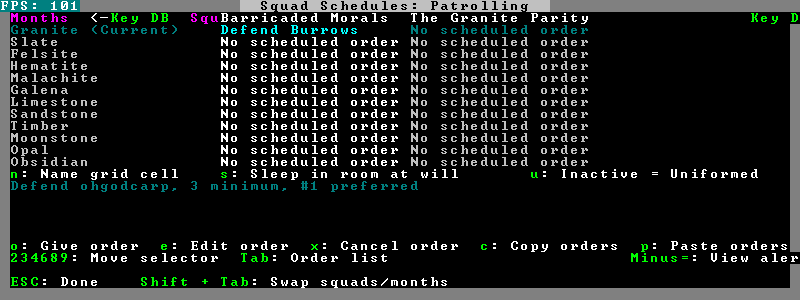
Saving our order, we'll return to the scheduling tab. Barricaded Morals now has a single Defend burrows order. Let's make it a little more creative, and use the copy/paste function to copy the schedule for the entire year.
For reference, the give orders window is not used to edit orders - that is done by pressing tab when looking at scheduling items and then using e to edit an order. Keep in mind scheduling items listed can have multiple orders, selected using the secondary selectors - if you haven't named a scheduling item it'll change the item's name to either whatever the order is or 'Mixed,' but if you've named it, even if there's no orders for it, it'll retain the name; don't get mistaken and think that an empty named scheduling item still has your deleted orders and copy it around.
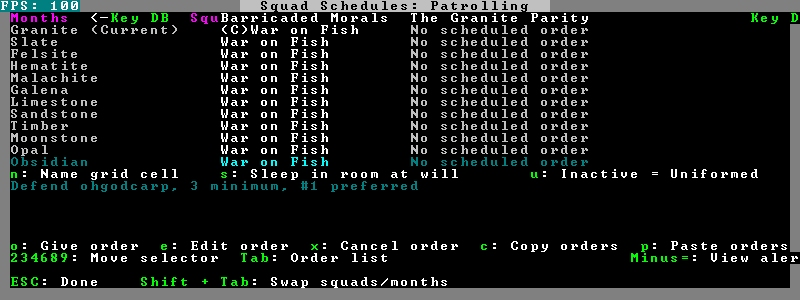
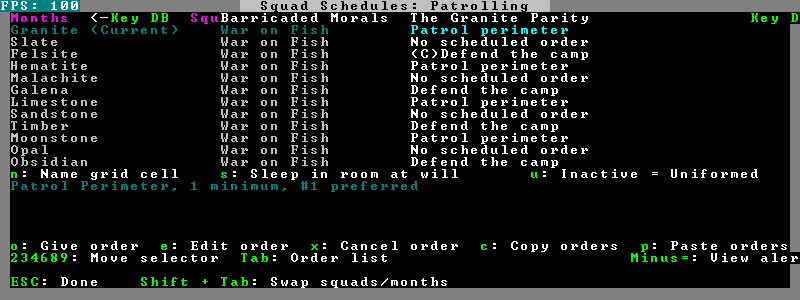
There! Now Barricaded Morals will partake in the War on Fish all year so long as they are set to the Patrolling alert. Let's select The Granite Parity and give them different orders.
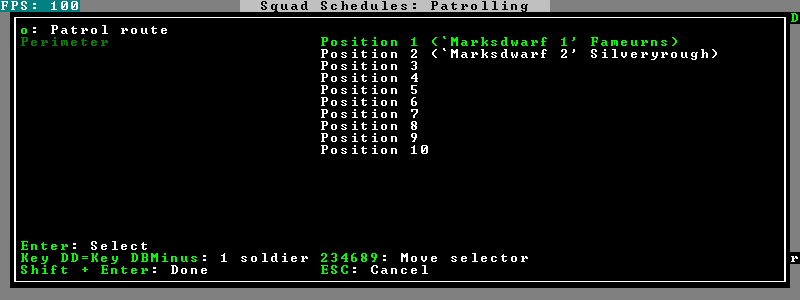
The Granite Parity has been ordered to patrol the Perimeter route we created - only one dwarf of the two is needed, and the order will prefer to use Marksdwarf 1 if it can.
Saving the order and returning to the scheduling tab one last time, we edit The Granite Parity's schedule so that they patrol the perimeter for a month, hang out and casually train for another month, and then defend the Home burrow for a month - and repeat this every season. I'll set both squads to the Patrolling alert to make sure they follow out these orders.
We are now done with the military menu. Exit all windows and we'll get started with the squads menu.
Squads
- This section of the walkthrough is still in progress. For now, relevant information is located on the Squads page.
The squads menu is opened by using s in the main menu. Squads are selected using a, b, c, etc.; shift can be held to select multiple squads at once. p can be pressed to toggle between selecting individual dwarves and entire squads.
Move Order
Move orders can be given with m once dwarves are selected.
Attack Order
Attack orders can be given with k once dwarves are selected.
Military and defense | |
|---|---|
| F.A.Q. | |
| Guides | |
| Managing soldiers | |
| Design tips | |
| Invaders | |
